A beginner's guide to

Star Photography

understanding your

Camera


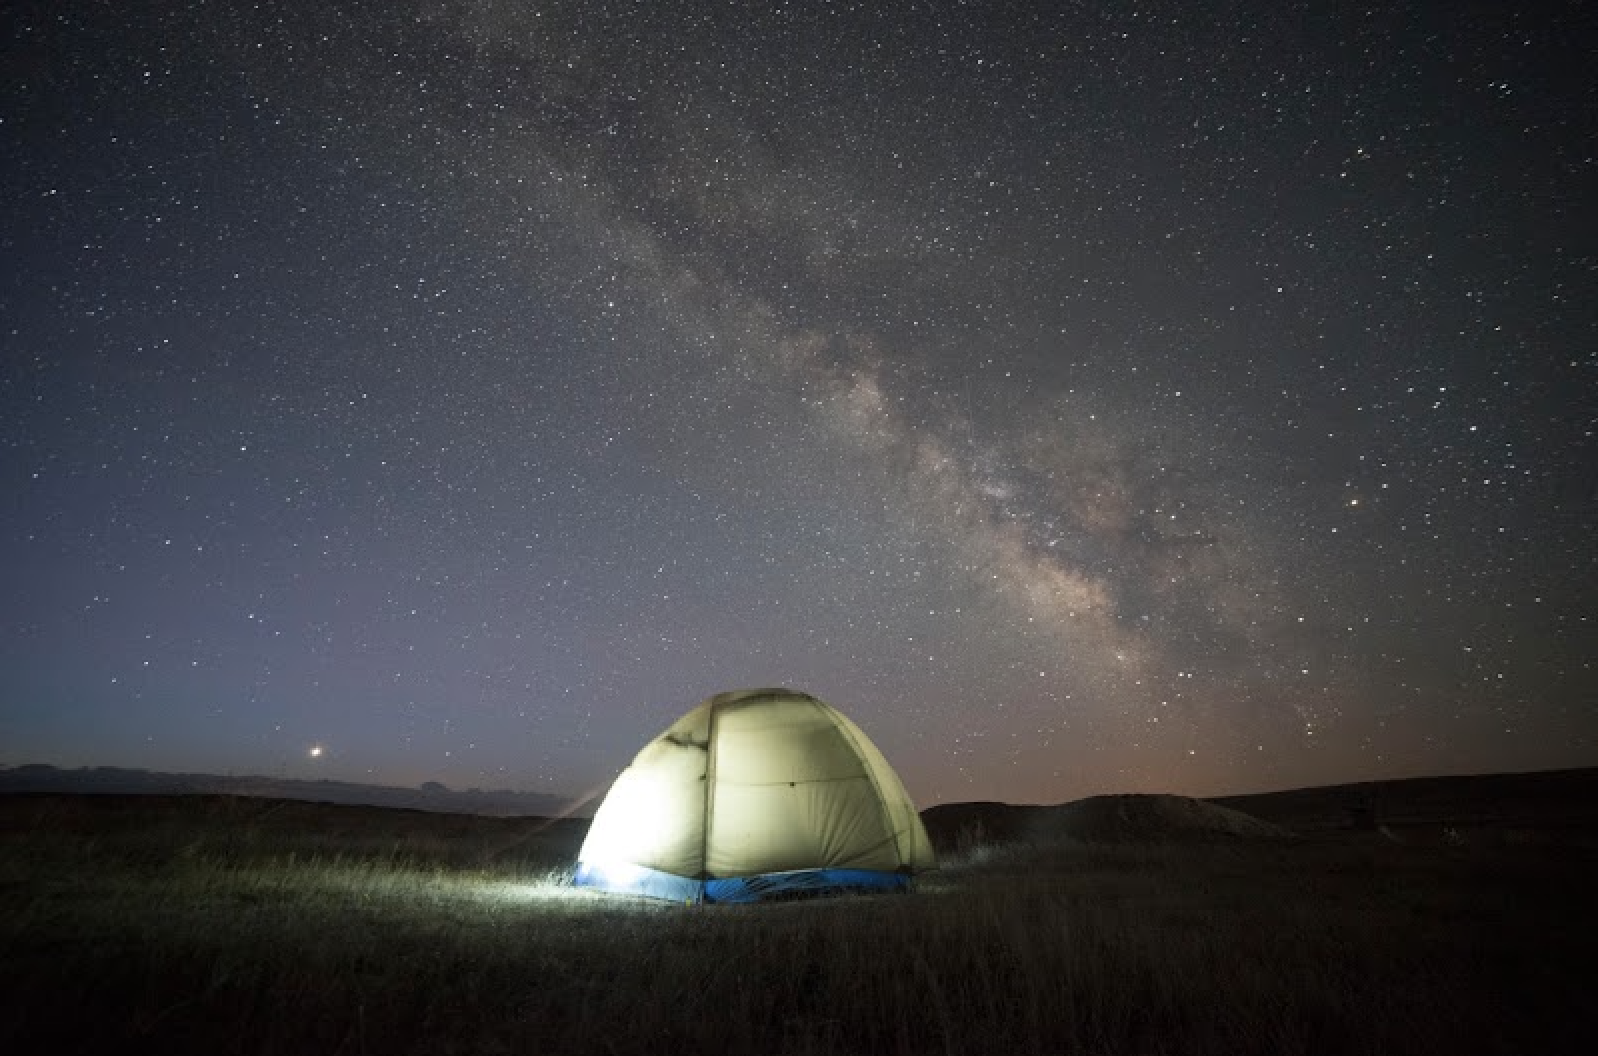
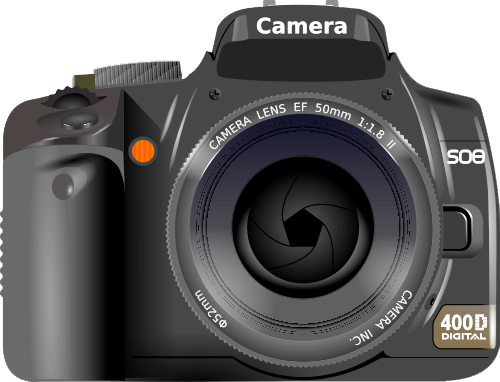
Although cameras are generally straightforward, the long exposure settings required for astrophotography can be complicated to find and understand. Hover over parts of the camera below to learn more about its anatomy and functionality.


Lens

A wide-angle lens between 14 and 20mm is recommended for astrophotography. A wide opening will allow your camera's sensor to pick up as much light as possible in the shortest amount of time.

Flash

The flash isn't necessary for star photos, but it's still an important part of a camera! Make sure it's turned off during long-exposure photography.

Mode

A camera with manual mode functionality is essential for photographing the night sky. Manual mode allows you great flexibility to adjust your camera's ISO (brightness/darkness) and Aperture (amount of light the lens lets in) by hand.
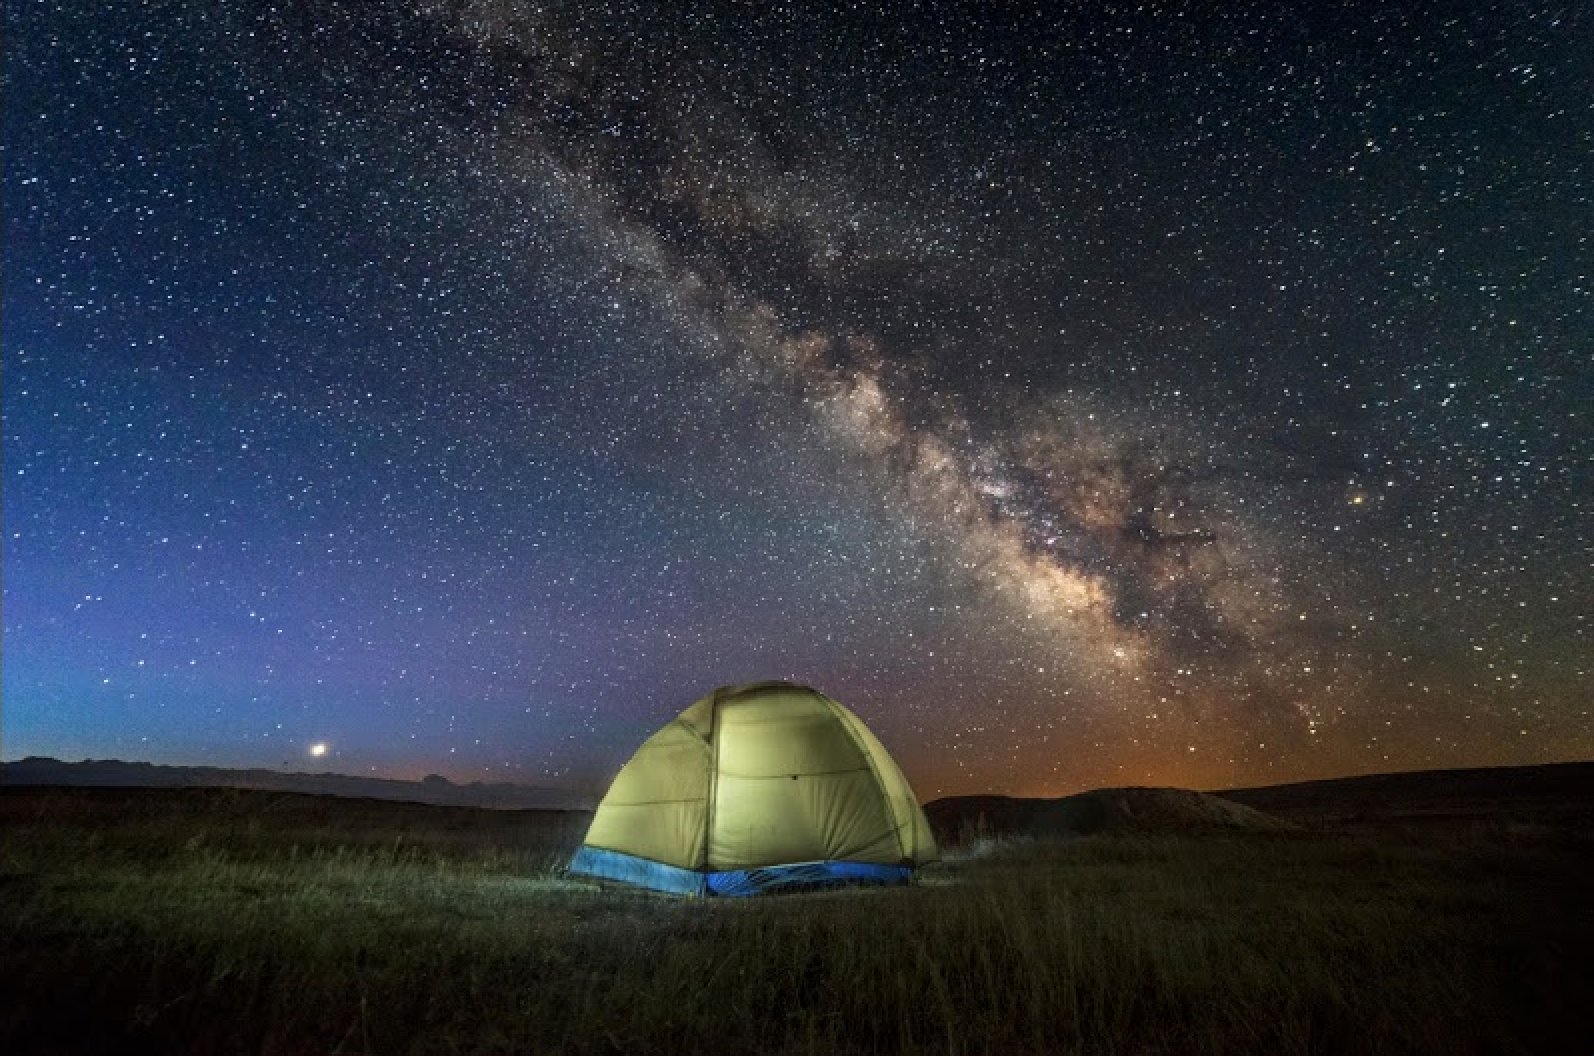
Shutter

Shutter speed determines how long incoming light is permitted to enter a camera. For example, a short shutter speed is optimal for extremely fast photos, like actions or sports. Star photography requires a long exposure of 20+ seconds to allow for ample light to enter the camera.

setting up your

Camera

Striking a delicate balance of aperture, focus, exposure time,
and ISO are key to getting the perfect star shot.

Aperture: anything at or below f/4 will work well, but an aperture around f/2.8 will allow more light to hit your lens, letting your camera process more stars.

Focus: Focusing on infinity (∞) will allow your camera to best process the night sky.

Exposure: Exposure time heavily depends on your focal length (i.e., the length of your camera's lens). An 18-55mm lens is most common with a DSLR or mirrorless camera. Take the number 500 and divide it by your focal length. With the lens mentioned above, this will be about 27 seconds.

ISO: The more you increase your ISO, the more noise your picture will exhibit. Start with an ISO of 800-1500 and take a practice shot to see if your photo is bright enough. If not, increase values until it is! In general, aim for an ISO of 2500-5000.

avoiding

Light Pollution


Moon phase, light pollution, and weather work in tandem to predict the possibility of astrophotography. First, time your photography to be on or near the night of the New Moon. Next, find a dark sky site and plan transportation accordingly. Light pollution will severely inhibit your ability to photograph (or even see!) the stars. Check out where to go for your best shot at seeing the Milky Way on the map below.


locating the

Stars


The night is dark and full of...stars! Don't you want to know what
you're looking at? Hover over the stars below to see the most
common constellations gracing the night sky.


The Big Dipper

The Big Dipper actually isn't a constellation in and of itself! It's an asterism (star pattern), and part of the broader constellation Ursa Major (The 'Big Bear'). It is most visible in spring and summer, when it rests high in the sky.

Pegasus

Shaped like the winged horse in Greek mythology, Pegasus is one of the largest constellations in the night sky. It is only visible from July to January.

Delphinus

Delphinus, or "dolphin" in Latin, is visible in late summer in the Northern Hemisphere.


Cassiopeia

Known for its distinctive "W" shape, Cassiopeia is named after a queen in Greek mythology. It is best seen from September to November in the Northern Hemisphere.

Orion

One of the most recognizable constellations in the night sky, Orion can be seen anywhere in the world. Most notably, Orion's "belt" consists of 3 stars stretching across the constellation's "hips".

The Little Dipper

Famous for its navigational powers that guided sailors and slaves to safety, The Little Dipper is arguably the most important constellation in the night sky. Polaris, the North Star, marks the end of the Little Dipper's handle and always points directionally north.

Post-Processing

Lightroom 4 and Photoshop CS6 are excellent choices to edit RAW photos. This includes color correction, basic luminosity control, contrast, sharpening, and noise reduction. After finishing in Lightroom, move to Photoshop CS6. Use luminosity masks to achieve ultimate control by increasing the brightness of the stars by leaving dark areas of the photo untouched.


Download the latest versions of Photoshop and Lightroom: